Removing dry mortar from tile surfaces can be a tough challenge for homeowners. One effective method involves using warm water and dish soap to start the cleaning process. This article will guide you through both DIY solutions and professional options to tackle this issue head-on.
Key Takeaways
- Start cleaning dry mortar from tiles by mixing warm water and mild dish soap. This initial step helps to loosen the mortar before applying more specific removal methods.
- For tougher stains, use acidic solutions like vinegar or lemon juice to break down the dried mortar. Apply these directly onto the stained areas and let them sit for a few minutes before wiping off with a cloth or sponge.
- If manual removal is necessary, an oscillating multi – tool with a carbide tip blade works well to scrape away stubborn thinset without damaging your tiles. Pouring boiling water over tough spots can also make it easier to chip away the dried material.
- In cases where DIY methods might not be enough, consider hiring professional tile cleaners. They have specialized tools and knowledge on safely removing dry mortar without harming your tile surfaces.
- To keep bathroom tiles mold and mildew-free, clean regularly with water and vinegar solution, ensure proper ventilation by using exhaust fans or windows, and apply silicone-based sealers on grout lines for extra protection against moisture.
Understanding Dry Mortar and Its Effects on Tile Surfaces
After recognizing the challenge of dealing with stubborn mortar on tiles, it’s crucial to understand why dry mortar poses such a problem for tile surfaces. Dry mortar, when left unattended, adheres strongly to tiles creating unsightly blemishes that compromise the aesthetic appeal of floors and walls.
This hardened substance can make tiles look dull and unkempt, affecting not just their appearance but also their durability over time. Mortar stains on tile surface create rough patches that attract more dirt and grime, making cleaning efforts more strenuous.
Tiles covered in dried mortar are not only difficult to clean but may also become hazardous as they turn into slipping risks in areas like bathrooms and kitchens where safety is paramount.
The process of removing thinset from tile requires precision to avoid damaging the delicate material beneath. Cleaning techniques involve using specific tools such as scrapers or razor blades for thinset removal and adopting approaches like applying muriatic acid or boiling water to soften the mortar first.
These methods aim at restoring the smoothness and shine of tile surfaces without compromising their integrity, ensuring that they remain visually appealing and safe for everyday use.

DIY Methods for Removing Dry Mortar from Tile Surfaces
Wash tiles thoroughly with a solution of warm water and mild detergent to remove dry mortar. Use acidic cleansers like vinegar or lemon juice to break down and dissolve the dried mortar from tile surfaces.
Washing Tiles Thoroughly
To wash tiles thoroughly, start by combining dishwashing soap and warm water in a bucket. Then, use a spray bottle filled with vinegar to spritz the tile surfaces. For surface-level thinset that is hard to remove, an acidic cleaning product such as white vinegar can help loosen it before wiping it away.
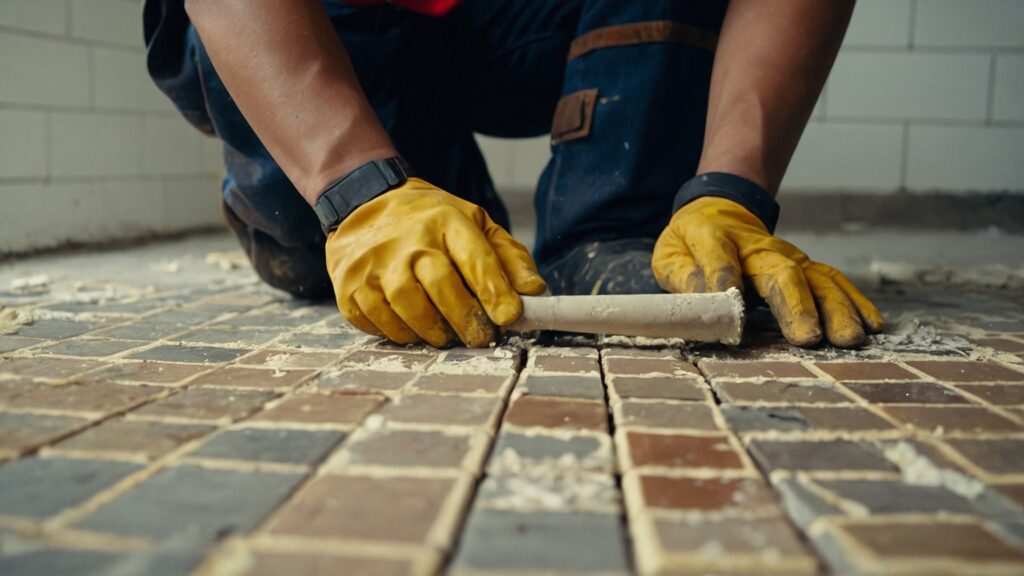
Additionally, carefully chip away mortar stains using a scraper or razor blade and wipe the tile floor with a clean towel dampened with warm water. Remember to pour boiling water over the thinset to weaken it before using a sharp putty knife at a 45-degree angle to scrape it off.
Finally, ensure all mortar is removed from grout lines prior to grouting for effective results.
Using Acidic Cleansers
White vinegar, an acidic cleaning product, can effectively help to loosen and remove dry mortar from tile surfaces. Simply apply the white vinegar onto the affected areas and let it sit for a few minutes to help dissolve the dried mortar.
After allowing it to soak, use a clean cloth or sponge to wipe away the loosened residue. The acidic properties of white vinegar make it an ideal solution for aiding in the removal of stubborn dry mortar stains from tiles.
To aid in breaking down surface-level thinset, mix equal parts of water and white vinegar in a spray bottle. Spray this mixture directly onto the affected area and allow it to sit for several minutes before gently wiping away with a clean cloth or sponge.
Removing Thinset Manually
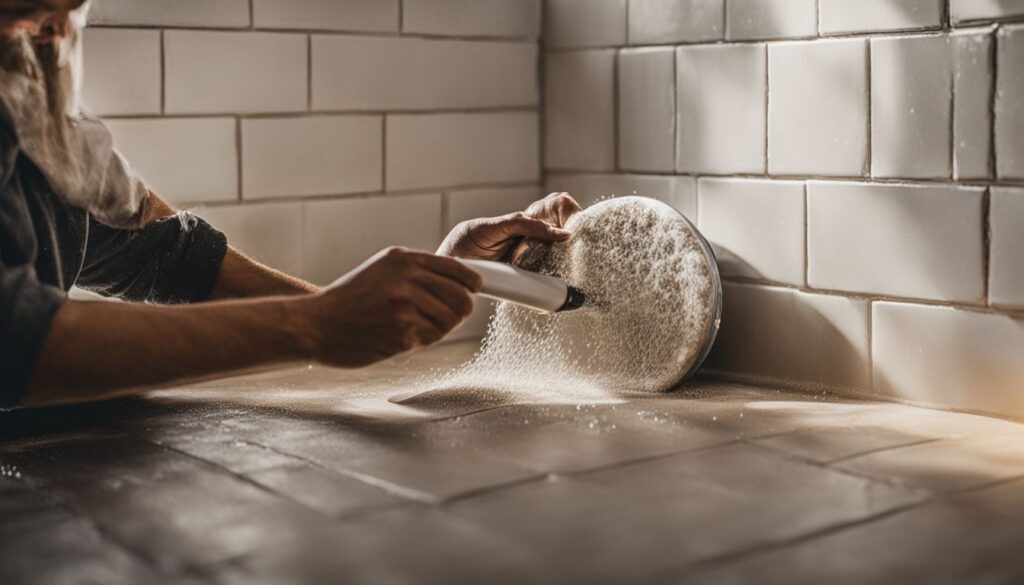
Use an oscillating multi tool with a carbide tip blade to scrape away thinset from old tiles. The sharp blade of the tool effectively loosens and removes stubborn mortar stains. Additionally, chipping away at the thinset with a putty knife angled at 45 degrees can help weaken and remove the dried mortar from tile surfaces.
Boiling water poured over the thinset can also assist in softening it for easier removal.
Professional Options for Removing Dry Mortar
Consider hiring a professional tile cleaning service for efficient removal of dry mortar from tile surfaces. Make an informed decision and ensure your tiles remain in top condition with expert assistance.
Hiring a Tile Cleaning Service
When considering hiring a tile cleaning service, it’s important to find professionals experienced in removing dry mortar from tile surfaces. A professional service can effectively clean and restore tiles using specialized equipment and cleaning solutions.
They have the expertise to safely remove hardened mortar without damaging the tile surface, extending the lifespan of your tiles and restoring their original appearance. By engaging a reputable tile cleaning service, you can ensure thorough removal of dry mortar from both floor and wall surfaces, enhancing the overall cleanliness and aesthetic appeal of your tiled areas.
Preventing Mold and Mildew on Bathroom Tiles
To prevent mold and mildew on bathroom tiles, regularly clean the grout lines with a solution of water and vinegar to inhibit the growth of fungi. Additionally, ensure proper ventilation in the bathroom by using exhaust fans or opening windows during and after showers to reduce moisture buildup.
Using a squeegee to wipe down the tile surfaces after each use can also help prevent mold and mildew growth. Furthermore, consider applying a silicone-based sealer to protect grout lines from absorbing moisture, which can contribute to mold and mildew formation.
Regularly inspecting for any signs of water leakage around tiles or fixtures is essential in preventing mold and mildew development in bathrooms. Removing any excess water promptly from shower areas and fixing leaks as soon as possible will help maintain a dry environment that inhibits fungal growth on bathroom tiles.
Extending Tile Lifespan with Regular Cleaning
Regular cleaning is essential for extending the lifespan of tiles. Grime and dirt can accumulate over time, causing discoloration and deterioration. Using a mild dishwashing soap and warm water to clean the surface regularly helps prevent this buildup.
Additionally, wiping down tiles with a vinegar solution keeps them free from mold and mildew, which can cause further damage if left unchecked. These simple cleaning practices not only maintain the appearance of tiles but also contribute to preserving their longevity.
It is important to remove mortar from tile grout lines before applying any new grout. Regularly inspecting grout lines ensures that any dried mortar or residue is promptly removed, preventing potential issues in the future.

Factors Affecting Tile and Grout Cleaning Frequency
Grout and tile cleaning frequency depends on several factors such as the level of foot traffic. High-traffic areas might require more frequent cleaning to maintain a fresh appearance.
Additionally, the presence of pets may necessitate more regular grout and tile maintenance due to potential stains and odors. The type of tiles used also impacts cleaning frequency; porous materials like natural stone may require more frequent attention than non-porous ceramic or porcelain tiles.
Moreover, the location of the tiled area affects how often it needs cleaning. For instance, moisture-prone environments such as bathrooms or kitchens are susceptible to mold and mildew growth, requiring regular upkeep to prevent these issues.
Conclusion
Removing dried mortar from tile surfaces requires a strategic approach. Utilize dishwashing soap and warm water to begin the removal process. An acidic cleaning product, such as white vinegar, can aid in detaching stubborn thinset.
Consider an oscillating multi tool with a carbide tip blade for removing thinset from old tiles. It is essential to carefully chip away mortar stains with a scraper or razor blade before wiping the surface clean with warm water.
Pouring boiling water over the thinset can weaken it for easier removal using a sharp putty knife at a 45-degree angle.
FAQs
1. How do I get dry mortar off my tile surfaces?
To remove dry mortar from tile surfaces, you can use a scraper or an oscillating multi-tool for thinset removal. For tougher spots, a razor blade might be necessary to scrape off the dried thinset from tiles carefully.
2. Can I clean mortar stains from my tile floor without damaging it?
Yes, you can clean mortar stains by gently wiping off the dried mortar from the tile with cleaning products designed for surface restoration and stain removal. Be sure to follow product instructions to avoid damage.
3. Is it possible to reuse ceramic tiles by removing old thinset?
Absolutely! Reusing ceramic tiles involves scraping off dried thinset and cleaning any remaining grout residue. This process may require tools like a scraper or even muriatic acid for tough mortar removal but do so with caution and proper safety gear.
4. What should I use if there’s really stubborn dried mortar on porcelain tile?
For particularly stubborn dried mortar on porcelain tiles, applying muriatic acid cautiously can help dissolve the material without harming the underlying surface. Always ensure adequate ventilation and protective wear when using chemicals.
5. How can I make sure all traces of mortar are gone before grouting new tiles?
Ensuring all traces of mortar are removed involves thorough scraping off any visible thinset from the tiles and grout lines, followed by a detailed cleaning of any leftover dust or particles to prepare for smooth grouting.