Painting a ceiling can often lead to unwanted splashes and drips on everything underneath. One important fact is that proper preparation can significantly reduce the chances of making a mess.
In this article, we’ll guide you through steps to paint your ceiling flawlessly, without leaving any trace of paint where it doesn’t belong. Keep reading; your perfect ceiling awaits!
Key Takeaways
- Start by removing all furniture and covering the floor with drop cloths to protect against paint spills. Secure the coverings with painter’s tape to keep them in place.
- Use painter’s tape along edges where the ceiling meets walls to ensure sharp lines, then choose an Accubrush or pad edge painter for precise painting without messy edges.
- Select a paint roller for quickly covering large ceiling areas. For detailed work near edges, use an angled brush which allows for more control and less mess.
- Slow down your painting pace to reduce splattering. Employ caulk for filling gaps before painting for smooth finishes and clean lines.
- A ceiling line paint tool can be instrumental in achieving perfect lines between wall and ceiling colors, making your project look professional.
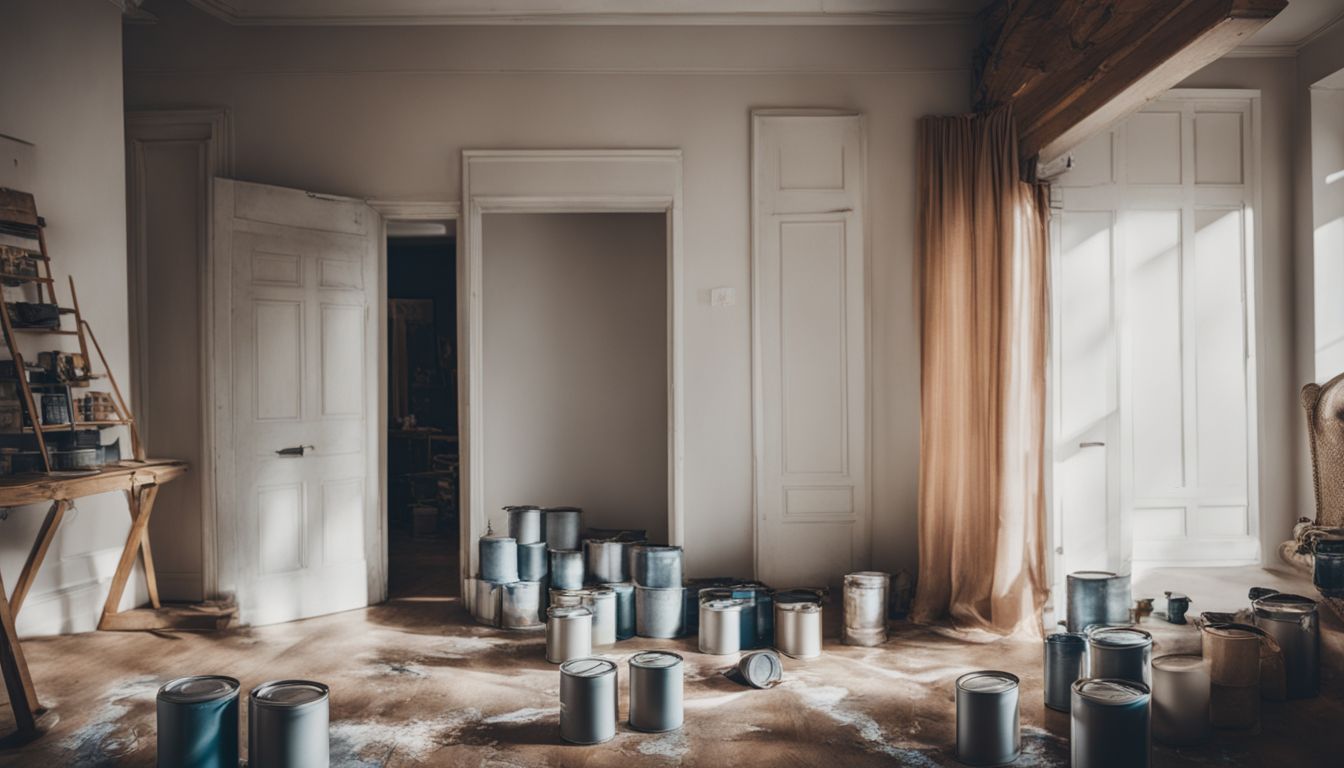
Preparing the Room for Painting
To kick off your ceiling painting project, start by clearing the space to create a blank canvas. Next, safeguard your floors with protective coverings to catch any drips or spills during the painting process.
Removing Everything From The Room
Clearing out the room stands as your first step before you start painting. Move furniture away or shield it with drop cloths to keep paint from ruining your items. Take down light fixtures or cover them securely, ensuring no paint seeps through and spoils the aesthetic of your space.
Cover floors meticulously with drop cloths to protect against any drips or spills that might occur during the painting process. This preparation not only safeguards your belongings but also provides a clean, uncluttered canvas for you to work on, making the task at hand simpler and more efficient.
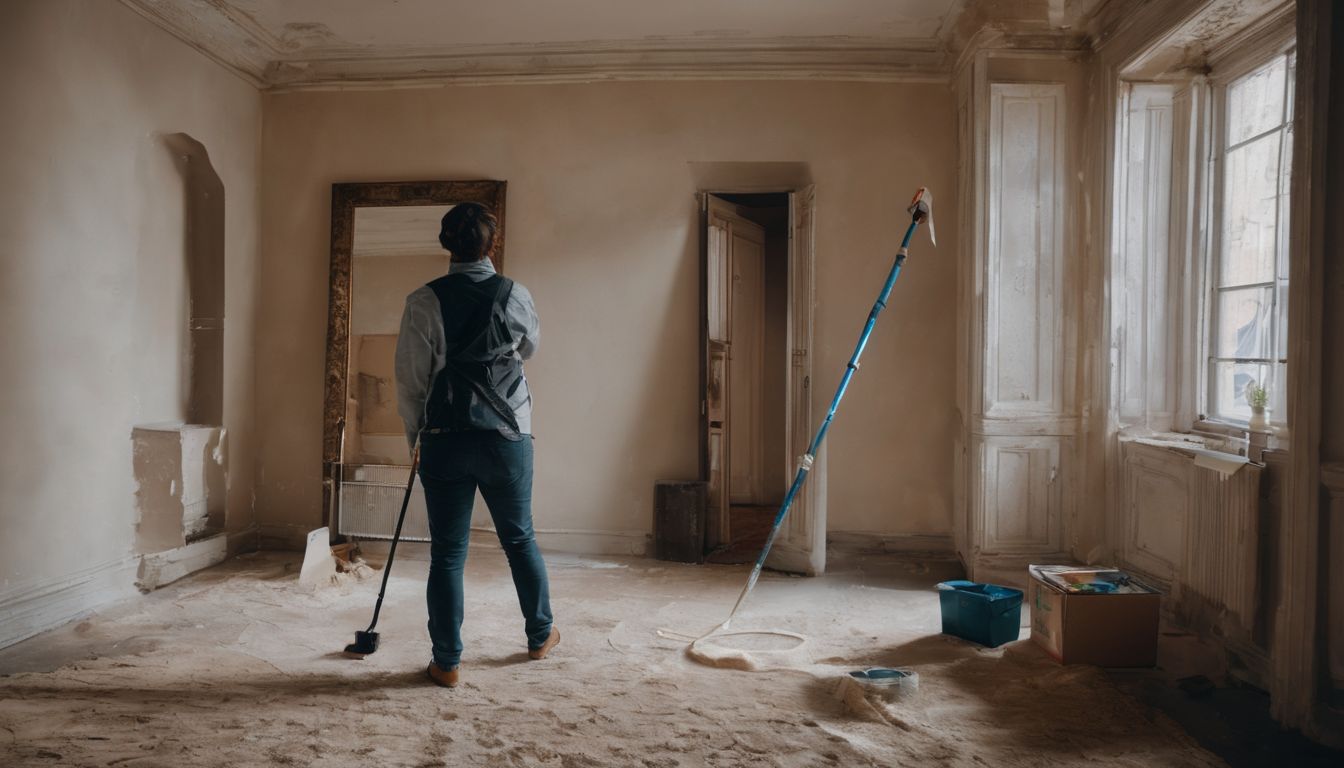
Covering the Floor
After clearing the space by removing furniture and other items, it’s crucial to focus on covering the floor. This step is vital in preventing paint spills and splatters from staining your flooring.
Using drop cloths, you can provide a protective layer over your floors. Make sure these cloths are spread out evenly and cover all areas where paint might accidentally drop. It’s a simple yet effective way to keep your floors clean during the painting process.
Securing the drop cloths with painter’s tape ensures they stay in place and don’t become a tripping hazard or shift and expose part of the floor to potential paint damage. Painter’s tape is specially designed for this purpose, offering strong adhesion without leaving residue behind or damaging surfaces when removed properly after use.
By taking these precautions, you safeguard not only your floors but also ensure a smoother painting experience free from unnecessary cleanup tasks afterward.
Protecting the Walls From Paint
Guarding your walls against errant streaks of paint requires a strategic approach. Discover how painter’s tape and other tools work together to shield your surfaces as you embark on transforming your ceiling.
Use of Painter’s Tape
Painter’s tape plays a crucial role in ensuring clean, sharp lines where the ceiling meets the walls. Before starting to paint, applying this special tape along the edges creates a secure barrier that catches any accidental drips or overbrushing.
This technique not only maintains the neatness of your work but also saves time on touch-ups later. Make sure the tape firmly adheres to avoid seepage beneath it.
Removing painter’s tape requires patience and precision once the oil-paints have completely dried. Peel off slowly at a 45-degree angle towards yourself to reveal crisp lines without damaging fresh paint or leaving residue.
Careful removal is key to achieving professional-looking results and avoids pulling away chunks of dry paint with it.
Covering the Wall with Painter’s Tape
Applying painter’s tape to the edges where walls meet the ceiling creates a protective shield, ensuring your walls stay free from accidental paint splatters. The key is placing the tape precisely along the line for a clean and professional-looking result.
This step not only keeps your walls safe but also saves significant time and effort in post-painting cleanup.
Make sure to press down firmly on the tape after application, establishing a tight seal that paint cannot seep through. Once your ceiling painting job is complete and the paint has dried thoroughly, you can gently remove the tape, revealing sharp, clean lines between wall and ceiling surfaces.
This method proves invaluable for achieving aesthetically pleasing results without damage to your wall’s finish.
Use of Proper Painting Tools
Selecting the right painting tools transforms a daunting task into a manageable project. It not only ensures efficiency but also significantly reduces the chances of accidental spills and splatters on your ceiling.
Making Use of An Accubrush
The Accubrush proves itself as a game-changer for those aiming to paint ceilings without the hassle of unwanted drips and errors. Its unique design focuses on creating sharp, clean lines right where the wall meets the ceiling, ensuring that even painting novices can achieve professional-looking results.
This tool stands out by significantly reducing spattering and dripping, which are common concerns when working with traditional brushes and paint rollers. It not only delivers precision but also speeds up the painting process, making it an efficient choice for both small touch-ups and larger projects.
Employing an Accubrush involves rolling its specially-designed edge along the ceiling’s perimeter, confidently applying paint without fear of encroaching on the ceiling space. The technique is straightforward yet effective, encouraging a smooth application that maintains pristine edges.
As you glide the tool across the wall’s edge, you’ll find that achieving a neat finish around light fixtures or fuse boxes becomes remarkably simpler. Its efficacy transforms what could be a daunting task into an achievable weekend project, setting it apart as a valuable asset in any DIY painter’s toolkit.
Using A Paint Roller
After outlining the benefits of an Accubrush for detailed work, it’s crucial to discuss the role of a paint roller in efficiently covering large ceiling areas. A paint roller allows for quick and even application of paint across broad surfaces, making it an indispensable tool in your painting arsenal.
By choosing rollers with appropriate nap thickness, you ensure a smooth coat without splatter or excessive texture.
Employing a paint roller requires technique as well; always start from the edge closest to natural light and move towards the darker corners. This method helps avoid streaks and ensures an even distribution of paint.
Keep a steady hand and apply pressure uniformly to prevent drips that could mar your flawless finish. Rollers paired with extension poles can significantly reduce the time spent on ladders and minimize physical strain, allowing you to achieve perfect coverage from floor to ceiling.
Considering A Pad Edge Painter
Moving from the broad strokes of using a paint roller, it’s crucial to focus on the precision offered by a pad edge painter. This tool can significantly increase accuracy in applying paint near the edges where walls meet the ceiling.
The pad edge painter excels in delivering clean lines without the hassle of tape or frequent touch-ups. Its design aims to minimize spills and splatters, which aligns with our recommendation for keeping your work area tidy and reducing cleanup time.
Employing a pad edge painter not only enhances efficiency but also ensures that every corner receives an even coat of paint. By eliminating the common challenge of uneven edges, this tool supports achieving professional-looking results regardless of your experience level.
It stands out as an essential piece in your painting toolkit, alongside extended rollers and shields recommended for protecting surfaces from drips and unwanted paint application.
Techniques for Painting the Ceiling
Mastering ceiling painting techniques can transform the way your room looks and feels. Discover how precision tools and smart strategies elevate your painting project, guiding you toward flawless results.
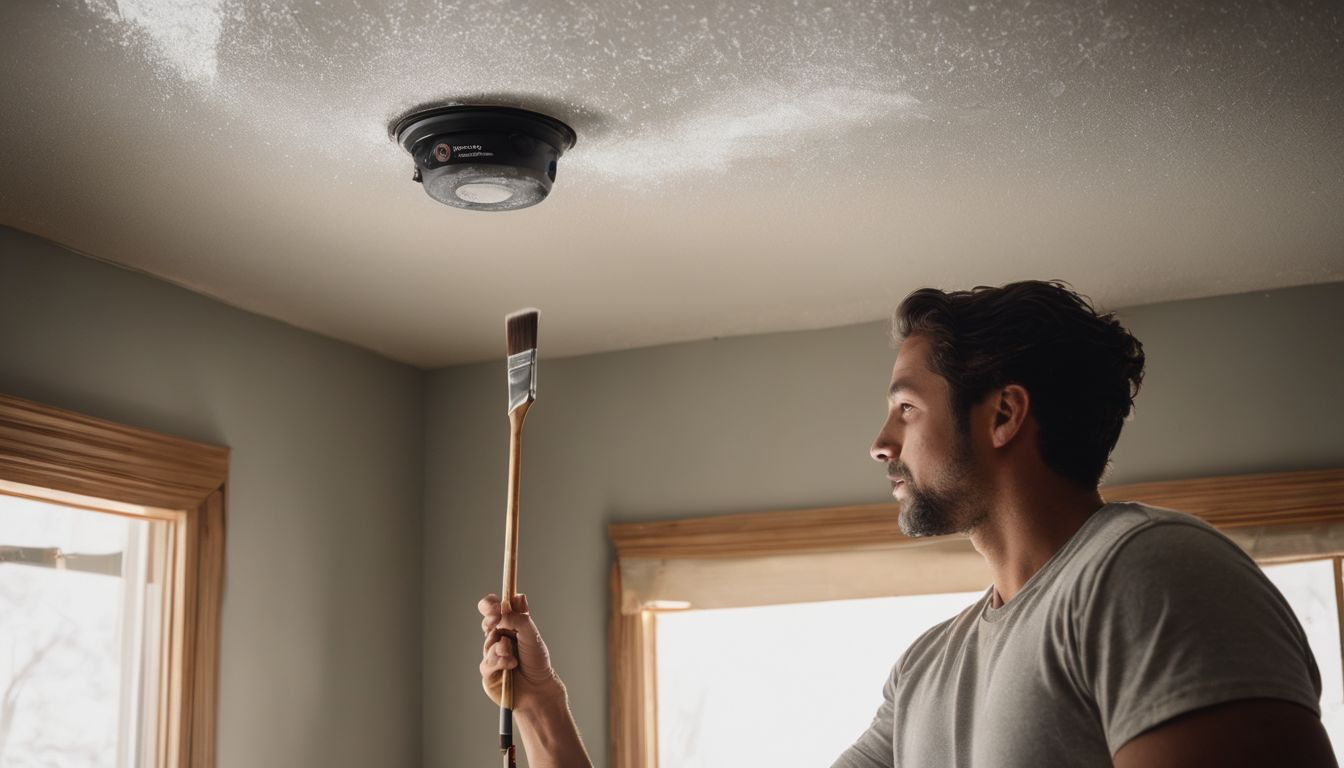
Painting More Slowly
Painting more slowly offers several advantages, especially when tackling a ceiling project. By reducing the pace, painters achieve deliberate roller strokes that significantly cut down on splattering paint onto undesired areas.
Marina Vaamonde of HouseCashin in Houston highlights this method to minimize mess and maintain a clean working environment. Slow and steady movements ensure that every inch of the ceiling gets even coverage, leading to a smoother finish.
Taking one’s time during the painting process also enhances control and precision. This careful approach prevents fatigue, allowing for consistent performance throughout the task. It’s not just about avoiding mistakes; it’s about crafting a professional-looking ceiling with meticulous attention to detail.
This technique proves particularly effective in managing tricky spots or edges where an angled brush might be employed for added accuracy.
Using Caulk for Precision
Using caulk for precision turns a good ceiling painting job into a great one. It fills in any gaps and cracks, ensuring the paint finishes smoothly and seamlessly. This step is crucial because it prevents paint from bleeding at the edges and corners of the ceiling, resulting in sharp, clean lines that define professional-looking work.
Selecting the right type of caulk is essential, as it needs to match the ceiling’s material for optimal adhesion and finish.
Applying caulk before you start painting can significantly boost both efficiency and effectiveness. It creates a barrier that guides your brush or roller, making sure every stroke contributes to a polished look without messy overlaps or bleed-throughs.
Now, let’s explore how an angled brush can complement this process by providing detail work around trickier areas like light fixtures or crown molding.
Using an Angled Brush
An angled brush becomes a painter’s best ally for achieving pristine edges along the ceiling line without unwanted smears. Its design allows for precision handling, ensuring that even those with less steady hands can guide the paint exactly where it needs to go.
This tool proves invaluable in tight corners and near trim, where larger rollers may stumble and leave marks.
Employing an angled brush also minimizes the need for excessive masking tape along the boundary between wall and ceiling. By carefully loading just enough paint onto the bristles and applying it with deliberate strokes, you reduce both the risk of drips and the amount of cleanup required afterwards.
This technique not only saves time but also supports a more professional-looking finish that stands up to close inspection.
Ensuring Clean Lines
Mastering the art of ensuring clean lines transforms your ceiling into a flawless masterpiece, inviting you to explore more techniques that guarantee professional-looking results every time.
Ceiling Line Paint Tool
A ceiling line paint tool dramatically changes the game for those wanting sharp, clean lines between their ceiling and wall colors. This specialized device allows you to apply paint right up to the edge without bleeding over onto the other surface.
It’s designed with precision in mind, making it an essential piece of equipment for achieving professional-looking results at home.
Using this tool helps eliminate the risk of accidental smudges or uneven lines that often happen when using traditional methods. By providing a steady guide against which you can roll or brush your paint, it ensures that every stroke is straight and smooth.
The ceiling line paint tool proves invaluable for those aiming for perfection in their painting projects, reinforcing the importance of using the right tools as emphasized throughout our discussion on successful ceiling painting techniques.
Taping the Ceiling for Spray Painting Walls
After exploring the use of ceiling line paint tools, it’s crucial to focus on effectively taping the ceiling for spray painting walls. Applying painter’s tape carefully along the edges where the wall meets the ceiling creates a sharp boundary that prevents paint from reaching undesired areas.
This step ensures that when you’re spray painting walls, the delicate boundary between wall and ceiling remains pristine and untouched by overspray.
Securing a clean line with painter’s tape acts as a guardrail for your paint job. By attaching the tape firmly, making sure no bubbles or gaps are left, you form an effective barrier against mistakes.
This method is not only recommended for its precision but also for protecting your workspace from unwanted splatters and drips, keeping both your ceiling and walls in perfect condition during renovation projects.
Conclusion
Tackling a ceiling paint job requires meticulous preparation and the right tools. Mastering these techniques ensures a mess-free experience, leaving your rooms looking fresh and professionally done.
Remember to move slowly, use protective measures for walls and floors, and choose your equipment wisely. With this guide, anyone can achieve clean, crisp lines that elevate a room’s appearance without the stress of cleanup afterward.
Dive into this painting adventure with confidence, knowing you’re equipped to keep those ceilings flawless while avoiding unwanted splatters everywhere else.
FAQs
1. What tools are necessary to paint a ceiling without making a mess?
To successfully paint a ceiling and avoid accidents, you will need quality painter’s tape, drop cloths to protect your floor and furniture, an extension pole for your roller brush to reach higher areas comfortably, and a stepladder.
2. Can I use any type of paint for my ceiling?
Not all paints are created the same. For ceilings, it is recommended to use flat or matte finish paint because they hide imperfections well. Ensure you choose high-quality ceiling paint that’s specifically designed for this purpose.
3. How can I prevent drips when painting my ceiling?
Preventing drips starts with loading your brush or roller with the right amount of paint – not too much since excess paint leads to dripping. Also, applying painter’s tape along the edges where walls meet the ceiling can help catch any minor drips.
4. What’s the best technique for painting ceilings?
Start by carefully outlining corners and edges near the wall with a small brush; this is called “cutting in.” Then use a roller attached to an extension pole in straight, overlapping strokes while keeping a wet edge on your rolle,r which helps blend each stroke smoothly into the next without leaving marks.