Start an exciting journey of restoring your kitchen’s space! The task of painting your metal kitchen cabinets and drawers is an interesting mix of fun and hard work. This project is more than just changing the colors; it’s a chance to bring new life into the heart of your home, reflecting your own style and making the kitchen feel better. If you do it right, decorating your kitchen fixtures is a fun and satisfying do-it-yourself project that will give your meals and dining experiences a new, modern look.
This article goes into great depth about how to paint metal kitchen cabinets and drawers. Our goal is to give you the knowledge and confidence you need to do this job with expert accuracy. The transformation of your kitchen depends on how carefully you choose the paint and use the brush. This explanation is meant to help you through each step, no matter how experienced you are with do-it-yourself projects or how eager you are to learn. In conclusion, you’ll be amazed by a kitchen that not only looks great but also fits your unique style and creativity.
Step 1: Preparation
Clean Up the Area
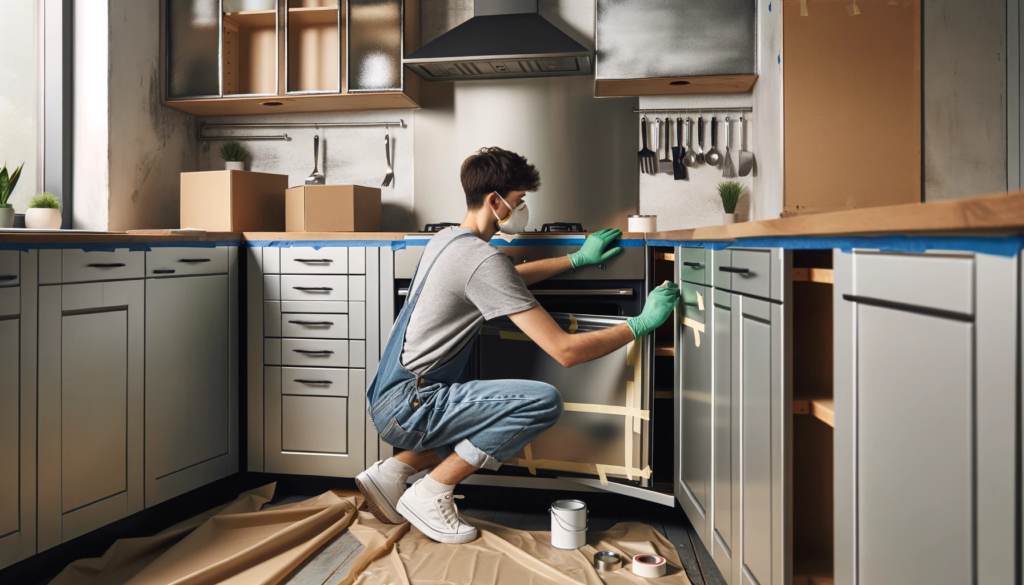
The first step in this journey of change is to clear out the space. Start by taking everything out of your closets and drawers. This step is very important for making sure that the work area is clear of any possible hazards. It is important to be able to get to every corner and crevice for a full renovation. Drop cloths or old sheets can be used to protect your tables, kitchen appliances, and floors from paint spills. The goal is to create a clean slate so that the person working on the project can focus on it without worrying about cleaning up afterward. This step prepares the surface so that painting can go smoothly and quickly. It also sets the stage for an amazing kitchen makeover.
Label and Remove Hardware
After clearance, the next important step is to label and remove the hardware. This step is very important for a smooth reassembly later on. Start by carefully marking each cabinet door, drawer, and the hardware that goes with them. Labels that are easy to read can be made with masking tape and a pen. This organized method helps you remember where things went, which prevents mistakes when reinstalling them.
After putting the labels on, take out all of the handles, buttons, hinges, and other hardware. Put these parts somewhere safe; for grouping screws and small parts, you might want to use small bags or bins. By taking off the hardware, you can get a smoother paint job that lets you paint the whole surface without any problems. This easy but important step raises the level of quality and finesse of your project as a whole and sets the stage for the rest of the steps in your kitchen cabinet makeover.
Step 2: Cleaning and Sanding
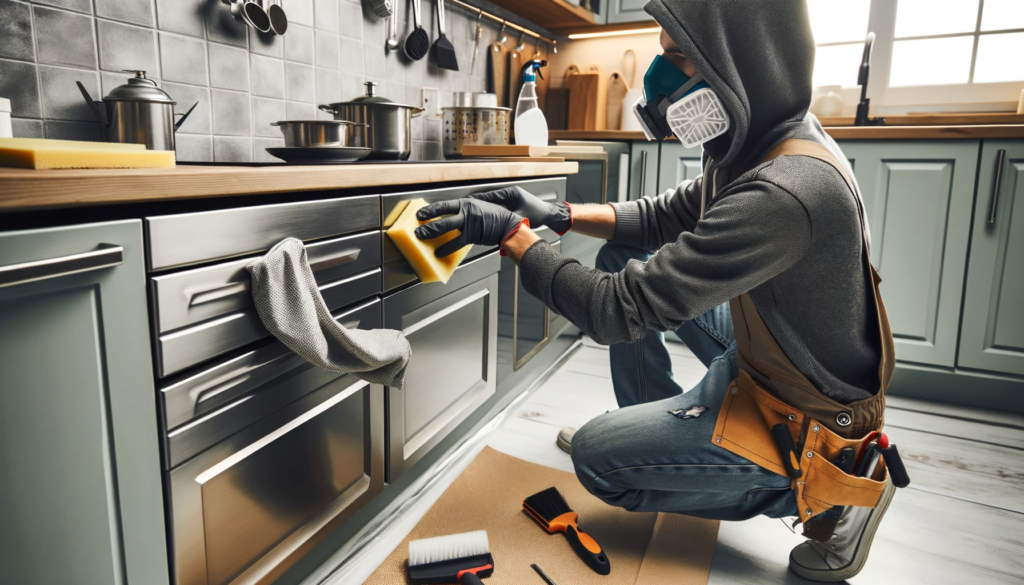
Thorough Cleaning
Before you start sanding, you must clean your cabinets and boxes very well. This step is very important for getting rid of any dirt, grime, or grease, leaving a clean surface ready for primer and paint to stick to. To get a good clean, use a degreasing product or a mix of warm water and mild detergent. Use a sponge or cloth to gently but thoroughly scrub every surface, paying special attention to areas that get touched a lot and tend to get dirty faster. After you scrub, use clean water to rinse the surfaces and let them dry completely. This not only gets the metal ready to be sanded, but it also makes the paint job last longer and look better. A clean surface is important for a successful painting job because it keeps the paint from flaking and peeling.
Sanding for Adhesion
When the surfaces are clean and dry, the cleaning process can begin. This step is very important for making a layer that primer and paint can stick to. For all cabinet and drawer surfaces, use fine-grit sandpaper to give them a light sand. The goal is not to get rid of the existing finish totally, but to rough up the surface so that paint sticks better. Carry out this action in a circle while providing steady pressure to make the surface rough all over. After polishing, it’s very important to get rid of all the dust that was made. To make sure there is no dust on the surfaces, wipe them down with a tack cloth or a lint-free rag. The right way to sand sets the stage for a smooth, long-lasting finish that sticks well.
Step 3: Priming
Apply Primer
Applying primer is one of the most important steps in getting your metal cabinets and drawers ready for paint. Primer is a layer that goes between paint and the surface. It helps the paint stick better and last longer. It also protects against water and rust, which is especially important for metal surfaces. Choose a good metal filler that goes well with the paint you want to use. Using a paint brush or roller, spread the primer evenly over all surfaces, making sure to cover every inch. Additionally, this includes the sides and edges, which tend to wear down faster. Be careful not to get primer on things too much or drips, as this can cause the finish to be uneven. Do what the manufacturer says and let the paint dry completely. The time it takes to dry varies, so you need to be patient. A smooth and shiny paint finish depends on a well-applied primer. This is why this step is so important if you want your kitchen cabinets and drawers to look like they were painted by a professional.
Step 4: Painting
First Coat of Paint
It’s time to add color to your kitchen by painting the cabinets and drawers with the first coat of paint after the primer has settled and dried. You can choose acrylic or oil-based paint based on your taste and the look you want. To get a uniform color, stir the paint well. Use a good brush or roller to spread the paint out in even, smooth lines. The goal of this first layer is not to cover everything, but to lay down a base coat. Watch out for drips or lines and smooth them out right away. Make sure to carefully cover all the edges and corners, making sure that the coat is even on all the sides of the cabinet and drawers. Follow the drying instructions that came with the paint to make sure it’s completely dry. This first coat of paint is very important for setting the tone for how your kitchen items will look in the end.
Additional Coats
More paint coats might be needed to get a deeper color and a smoother finish. Check to see if you need a second coat after the first one is completely dry. If the covering isn’t even or the old surface can be seen through, adding a second coat will make the color deeper and more even. Use careful, even strokes to apply the second coat in the same way you did the first. If you think you need a third coat, repeat the steps, making sure that each layer dries completely before adding the next one. It is better to use several thin coats than one thick coat because they dry more evenly and are less likely to peel or chip over time. Adding these extra layers not only makes the color and finish of your cabinets and drawers deeper, but they also make the paint job last longer and be more durable, so your kitchen will look fresh and new for years to come.

Step 5: Reassembly and Final Touches
Reattach Hardware
Once the paint is completely dry and the cabinets and drawers look brand new again, it’s time to put the handles back on. At this time, you need to be very precise and pay close attention to every detail. Look back to the labels you used before to make sure that every piece of gear is put back where it belongs. Make sure the hardware fits perfectly in the holes, and then use the right screws and tools to lock it. If you’ve decided to improve the hardware, make sure the new pieces fit into the old holes or make the necessary changes. Reattaching the hardware does more than just make the cabinets and drawers work again; it also gives you a chance to make them look better. If you choose the right buttons, handles, or pulls, they can really make your freshly painted surfaces look better.
Reinstall Cabinets and Drawers
Putting the cabinets and drawers back in is the last step in your kitchen makeover project. Carefully and slowly do this job, making sure that every piece is level and in the right place. Put the drawers back in and make sure they move freely without getting stuck or breaking. When you hang the cabinet doors again, make any necessary changes to the hinges to make sure they are level and there are even gaps between the doors. Now is also a good time to make any last changes or tighten any loose hardware to make sure everything works smoothly. The process of reinstallation is the result of all your hard work. It’s when you put your kitchen back together and can see how much better it looks after you painted it. A good reassembly not only makes sure that the new kitchen cabinets and drawers work properly, but it also makes them look better and gives them a more professional finish.
Maintenance Tips
Regular maintenance is necessary to keep your freshly painted kitchen cabinets and drawers in great shape. First, use a soft cloth and mild detergent to clean the surfaces softly. Quickly wipe up any spills, stains, or fingerprints. Do not use rough cleaners or chemicals that could damage the paint finish. If the spot won’t come out, use a slightly damp cloth with soapy water and then a dry cloth to get rid of any extra water. Pay attention to the hardware and fix any parts that aren’t attached properly so that the paint around it doesn’t get damaged. A small touch-up of paint can quickly fix chips or scratches. This not only keeps the look good, but it also keeps water out and stops more damage from happening. Your cabinets and drawers will stay looking great and working well in your kitchen for a long time if you follow these easy but effective cleaning tips.
In conclusion, painting your metal cabinets and drawers will change the look of your kitchen, but it will take a lot of planning, careful completion, and ongoing care. If you follow these steps and use the right tools, you can get a professional-looking finish that will last and look good in your kitchen. It will also show off your personal style.